
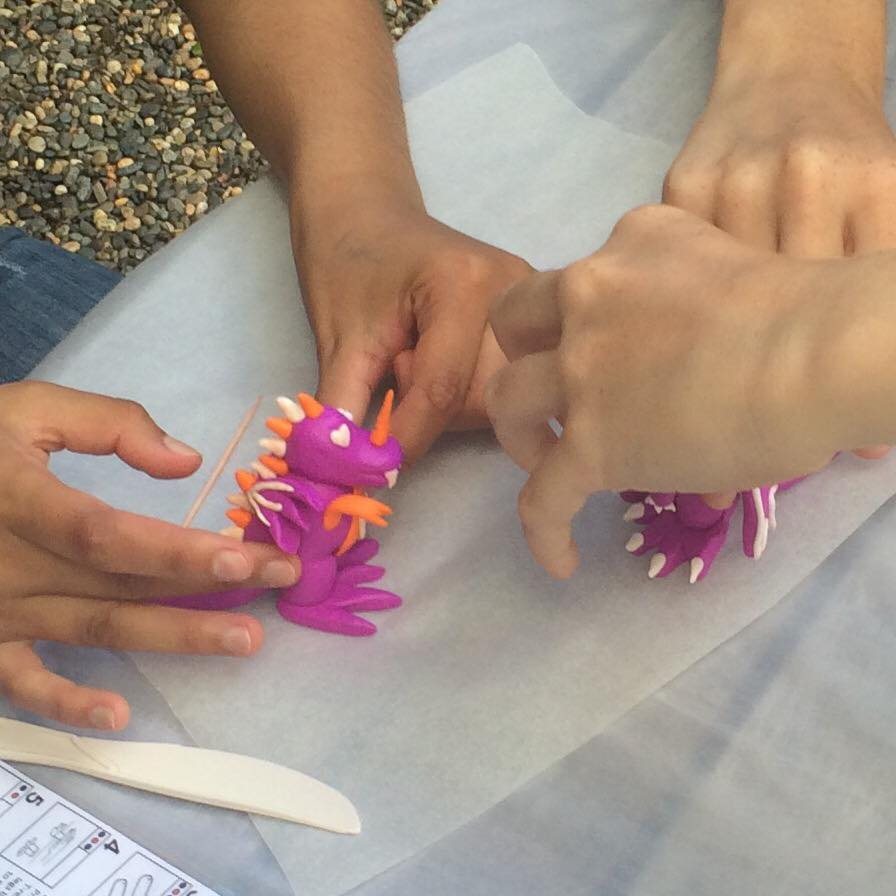
Technical skill is one of the five monthly award categories. The judges look for smooth shapes and well moulded joins. These are the techniques we teach in every Klay Master workshop, and they work for every activity in the pack.
Watch the video first, then keep these tips handy while you make.
1. Warm the clay first
Roll the clay in your hands until it softens. Cold clay cracks and will not hold a smooth shape. If the clay is too hard for young hands, a grown-up or older child can help. Often just holding the clay and rolling it creates enough warmth to soften it.
2. Start with balls and worms
Almost every Klay Master model starts with two shapes. Roll a ball between your palms. Roll a worm on the table using your fingertips. To split clay evenly, roll it into a worm first, then divide it into equal portions.
3. Press, then mould
FIMO sticks well by simply pressing, which makes it perfect for kids. For a strong join, press the piece on firmly, then mould the edge into the body with your fingertips so there is no line where the two pieces meet. This is what the judges mean by well moulded joins.
4. Smooth as you go
Use your fingertips to smooth out cracks, seams and fingerprints before you add the next piece. It is much easier to smooth a shape before the details go on.
5. Flatten and pinch
For ears, wings and fins, roll a ball and flatten it with your palms and fingertips, like you are making a flat pancake. To finish a point, like the tip of a tail, pinch it gently.
6. Small details last
Eyes, spots and stripes go on at the end. Roll tiny balls, press them on, then use a toothpick to press into the centre of each eye.
7. Turn it as you work
Entries are judged from photos of the front, back, both sides and from above, so check your model from every angle as you go.
8. Bake with care
Bake on baking paper at 110°C for 30 minutes and never overbake. Let it cool completely before you add the gloss.
9. Finish with gloss
Once your piece has baked and cooled, brush on a thin coat of the water-based gloss varnish from your pack. It brings out the colours and gives a smooth, shiny finish. Let it dry fully before you take your photos and enter.
10. Easy clean up
Clean up is easy because everything is water based. Wash hands, tools and the table with warm soapy water, and rinse your brush straight after varnishing, before it dries.
See the monthly awards