Running a Klay Master Workshop for Large Groups
Klay Master workshops are a fun and engaging way to inspire creativity in kids. This guide is designed to help caregivers, teachers, and facilitators run these sessions effectively, whether at home, in a classroom, or for after-school groups with up to 40 children.
Overview of the Session
- Session Time: About 1 hour, but allow 1.5 hours for flexibility.
- Group Size: Best for groups of up to 10 kids per adult leader. For larger groups, having assistants or splitting into smaller groups works well.
- Age Range: Suitable for all ages. Older kids can help younger ones during the session.
- Key Outcome: Every child will create a unique project that boosts their confidence.
Setting Up for Success
Preparation is key to a smooth and enjoyable Klay Master workshop. Here’s what you’ll need:
Materials for Each Child
- 2-3 toothpicks
- Baking paper for use as placemat
- Instruction sheet
- Plastic, biodegradable or blunt knife
- 1 packet of non-toxic Polymer Clay (we recommend FIMO for its versatility)
Additional Resources
- Baby wipes (for cleaning hands between colours)
- Extra polymer clay for swapping colours and embellishments
- Glow-in-the-dark clay (for added fun at the end)
Create the Example
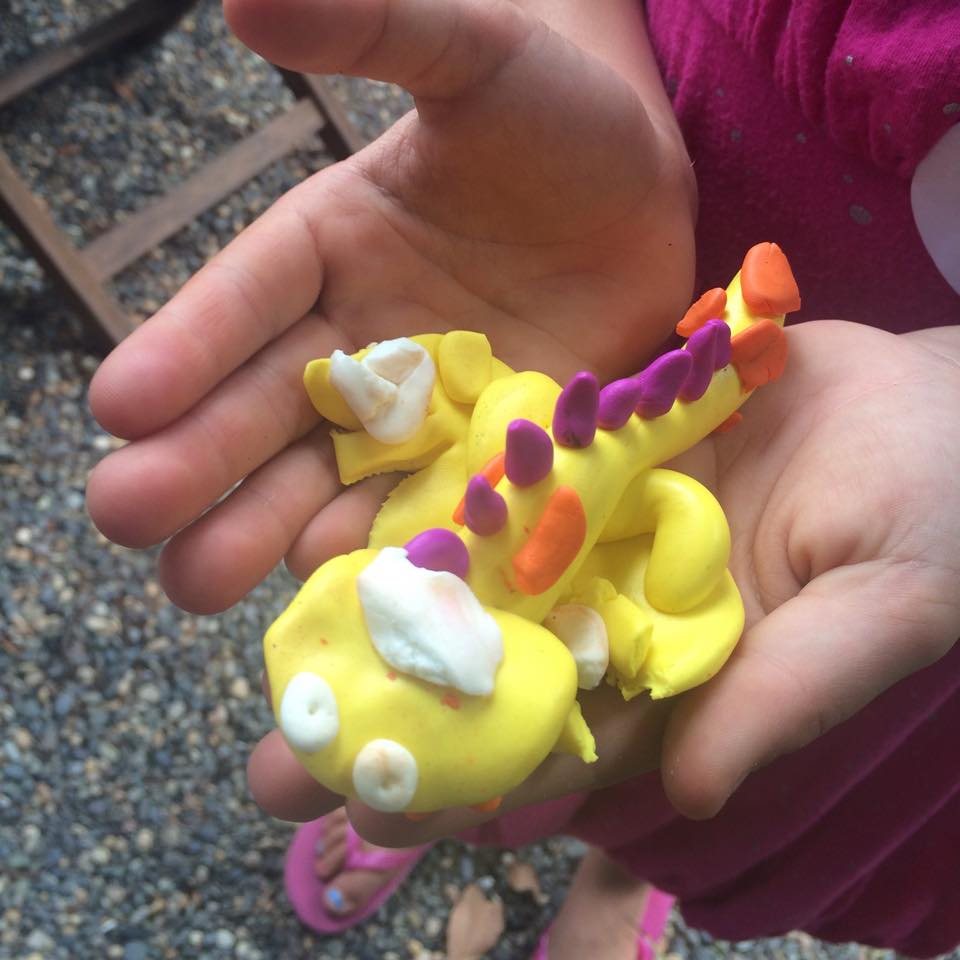
Once you decide which clay activity you’d like to offer, it’s incredibly helpful to have a physical example of the finished item for your workshop. This gives kids something to aim for and helps inspire their creativity. There are two ways to get one:
- Buy a finished example. We can supply finished example models, so you have one for each activity ready in your teaching toolbox for every session.
- Make it yourself. Make at least one item in advance. You not only provide a visual reference for the kids, but also get the chance to practise creating the piece. This makes teaching the steps much easier and gives you confidence in guiding the group through the process.
Ask us about finished examples when you enquire about a session.
Step-by-Step Teaching Guide
1. Getting Started
- Make sure each child has their materials ready before beginning.
- Introduce the activity briefly, then start with clear step-by-step instructions.
2. Softening the Clay
- Have the kids open their clay packets.
- Encourage them to break the clay into four smaller pieces.
- Instruct them to warm the clay by rolling it in their hands until it softens. Tip: If the clay is too hard for young hands, offer help or ask older children to assist younger ones. Often by simply holding the clay and creating friction by rolling, the younger ones can help soften clay simply by heating it up.
3. Combine the Clay
- Once clay pieces are softened, ask the kids to combine their smaller pieces into one large ball, which will serve as the base for their project. You're now ready to get started!
The Creative Process
Demonstrate Each Step
- Read and demonstrate each step from the instruction sheet.
- Use clear language that matches the instruction sheet so the kids can follow along by listening, reading, and watching.
- Remember, the goal is creativity, not perfection.
Check out our video illustrating clay moulding techniques:
Pacing the Group
- Let the children work at their own pace, but ensure most are ready before moving to the next step.
- Be prepared for some chaotic moments. That’s part of the creative process! At times it will seem like the group is turning into a hurricane. You'll be amazed to see how everyone will get to the end of the project with something that resembles the final goal.
Boosting Motivation
- If attention wanes, offer glow-in-the-dark clay as a reward for those ready to embellish their projects. This usually reinvigorates the group and gets them excited to finish their creations.
Adding Final Touches
Swap Colours for Embellishments
- Once the kids have shaped their main pieces, let them swap clay colours for embellishments.
- Introduce the glow-in-the-dark clay for final details like adding eyes or other fun accents.
Why we love FIMO
- FIMO clay adheres well by simply pressing, without moulding, making it perfect for kids. Simply press the embellishments onto the main project, and they will stay attached during baking.
Finishing the Workshop
Baking the Creations
- On-site Oven: If you have access to an oven, bake the kids’ projects according to the manufacturer’s instructions on the clay packaging. Tip: Write each child’s name on their baking paper to keep track of their piece. Avoid overbaking, as polymer clay can become harmful if burnt.
- No Oven Available: If baking isn’t possible at the venue, pack each child’s project in a take-home box along with a flyer that includes baking instructions for parents.
Wrapping Up
Completion and Cleanup
- Once all projects are finished and either baked or packed for home, give the children a chance to show off their creations.
- Celebrate their creativity and individuality, focusing on their effort rather than perfection.
- FIMO clay is low mess and cleans up easily in water. So whether the clay is smudged on hands, the table or the floor, you can easily clean up any crumbs or smudges with a damp cloth, baby wipe or wash hands in sink.
- FIMO has a water-based gloss varnish option which can be applied after baking. This makes for a fun task later in the day once the items are baked and cooled. Baking FIMO only takes 30 minutes to bake, and cooling usually takes no longer than 30 minutes to 1 hour with small items. Finishing the item with gloss varnish makes the colour of the item more brilliant, and makes glitter effect clay stand out more.
Additional Tips for Success
- Assistants: For larger groups (10+ kids), having assistants helps keep everyone focused and engaged.
- Encouragement: Offer positive feedback throughout the session to keep kids motivated.
- Have Fun and Be Flexible: Expect some chaos and mess, but embrace the creativity. You’ll be amazed by what the kids can create!
By following this framework, you’ll run a smooth, creative, and rewarding Klay Master workshop that encourages children to explore their artistic side.
Enquire about a session