
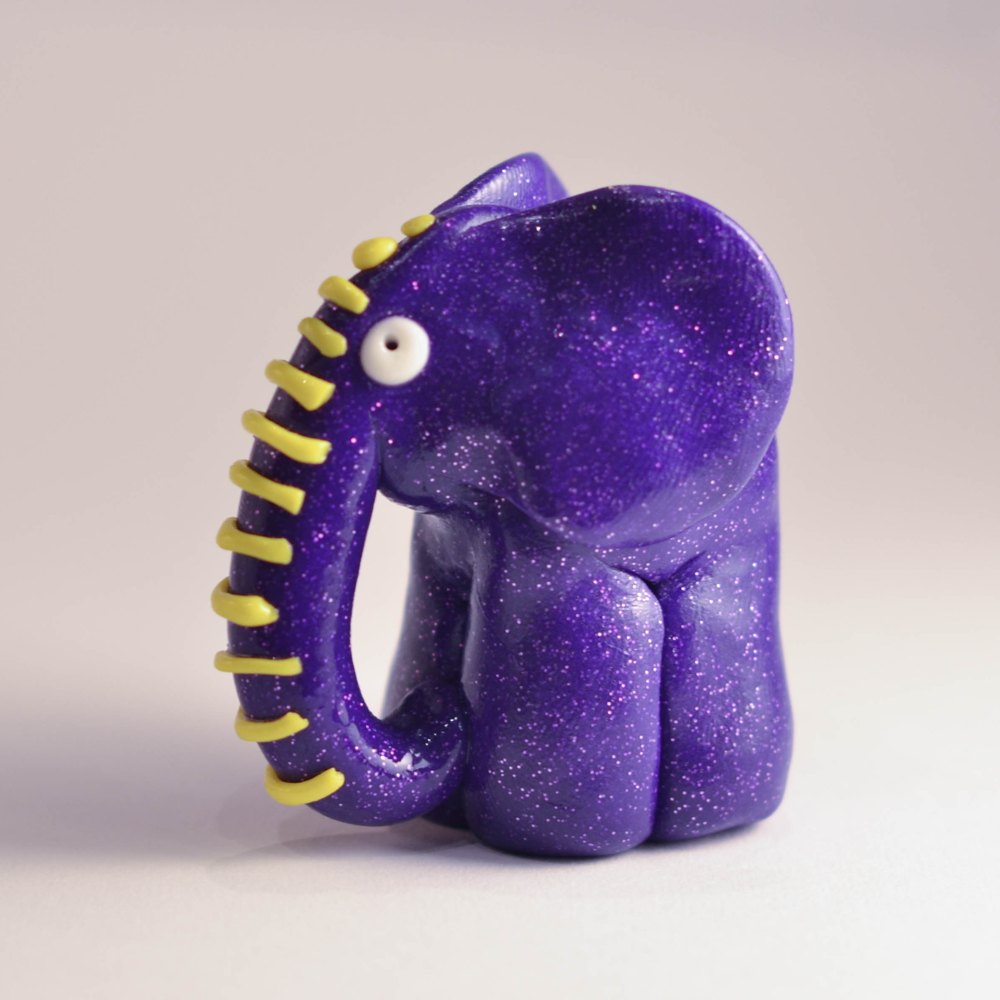
Polymer clay is a fantastic medium for this project because it sticks to itself easily and hardens in a domestic oven, so kids will be rewarded with a completed design in just a short amount of time. There’s no need for a kiln or weeks of waiting for the finished design. Instant gratification is our friend! If you are a school or child care facility, and don't have time to bake the items, children can bake the items at home. Perhaps print out some baking instructions for the parents. Polymer clay brands can be 'cooked' in a domestic oven. Just ensure you follow the clay specific brand baking instructions.
Before we dive in, make sure you have your clay prepared and ready. Grab a few different colours of clay for the end. Once the basic elephant design has been achieved, kids can use their imagination to decorate and embellish to their heart's content! Kids love elephants and this activity is sure to be a hit at your school, after school activity or home.
The 12 steps
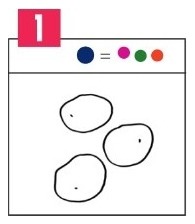
1. Get started
Once you’ve prepared your polymer clay so it’s nice and soft.
To get started, roll your clay into a worm, and divide into three equal portions.
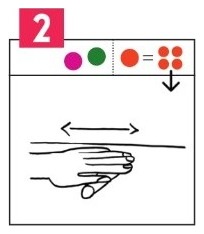
2. Legs
a) Now, take one portion of clay.
b) Divide this portion into four, and roll into four balls.
c) Shape each ball into an elephant leg, by rolling into a stubby worm shape.
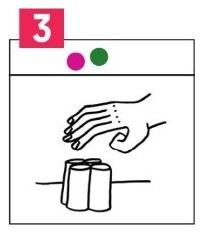
3. Stand the legs
a) Take your four elephant legs.
b) Stand each elephant leg in their upright position, and gently press the legs together in position.
c) The elephant legs are now ready for the elephant’s body.
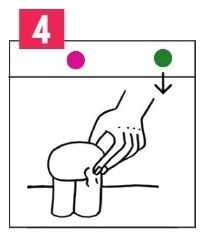
4. Body
a) Take another portion of clay.
b) Roll and shape the clay for the elephant’s body, by rolling it between your palms.
c) Now press the body onto the upright legs.
d) Mould the body to the legs with your fingertips, and smooth. Check out moulding techniques here.
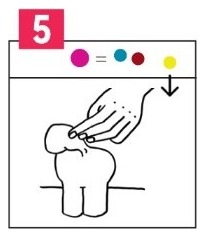
5. Head
a) Divide your last portion of clay into three.
b) Take one of these portions, and roll into a small ball.
c) Press and attach the ball to one end of the elephant.
d) Mould the ball onto the body. This is our elephant’s head.
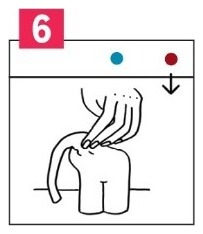
6. Trunk
a) Take the second portion of clay.
b) Create a long trunk by rolling the clay between the palms of your hands.
c) Press and mould the top end of the trunk onto your elephant’s head.
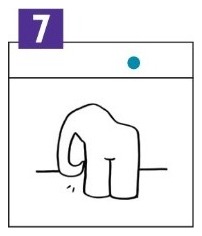
7. Curl the trunk
Press the tip of the elephant’s trunk onto the base of its front legs, as shown in the picture.
8. Ears
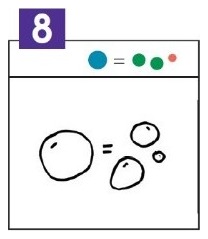
a) Take your last portion of clay.
b) Remove a small amount of clay from this last portion for the eyes, tail and details, and set aside.
c) Divide the remaining portion into two parts. These will be our elephant ears.
9. Flatten
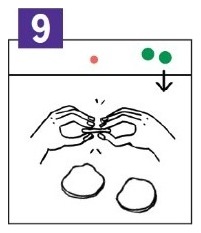
a) Roll each elephant ear portion into a ball and smooth.
b) Flatten each ball using the palms of your hands and your fingertips, like you’re making a flat pancake.
c) We now have two elephant ears.
10. Attach the ears
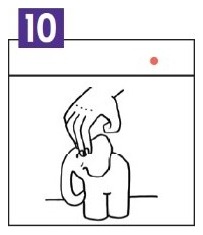
a) Now, attach your elephant ears to the side of the elephant’s head, by pressing the base onto the head well, and then moulding the base of the ear to the elephant’s head on each side.
b) Shape out the elephants ears into your desired position!
11. Tail
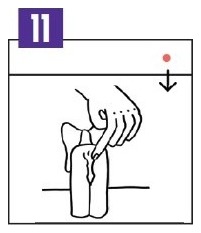
a) Take a little left over clay for the elephant’s tail. Roll this little portion into a tiny worm by rolling it on the table using your fingertips.
b) Press the tail onto our elephant, and mould the top of the tail on.
c) Pinch the top of the tail to finish.

12. Eyes
a) With the last portion of left over clay, make two tiny balls of clay for our elephant’s eyes. Consider using a different colour. Glow-in-the-dark clay is fun for eyes and decorations. Use your imagination!
b) Press the eyes onto your elephant. Take a toothpick and press into the centre of each eye to finish!
Clay Elephant video demo
In this video, we demonstrate the basic techniques of rolling, shaping, and moulding polymer clay. Perfect for educators or parents, this demonstration breaks down the process into simple, manageable steps to help guide children through their own creations. Before you take the class, be sure to review the video to familiarise yourself with the techniques and tips.
Examples of kids work
Let your kids get hands-on with our fun and creative clay activity, where they can explore their imagination and craft something truly their own. We encourage parents and teachers to let the kids do as much of the work themselves as possible. This gives them a real sense of pride and ownership over the final result. Remember, the goal isn’t perfection, but the joy and accomplishment that comes from making something unique with their own hands!
Get a Family Series pack